

Flashlight covered with ash
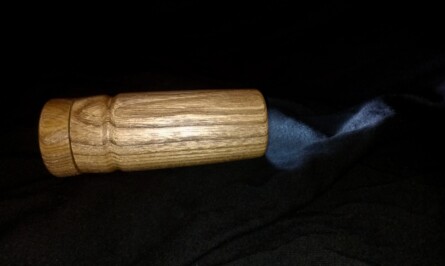
Inspired by your flashlight video from february I thought I could give it a try as well. As my lathe is challenging me all the time, I did it this way: after roughing out the balnk I turened a tennon to one side an put it into my scrollchuck. As this chuck isn’t self centering you can’t take the blank out of it and try to remount it back. This is impossible, so the blank had to stay inside up to the point were I finished the front part. So the first step I hollowed the first 10 mm to receive the endcap of the flashlight. After this had been done I parted it off. Turning a small tennon to the blank, to receive the cap as a jam chuck I finshed the outside of the cap-cover by turning the hole to reach the switch, sanding up to 600 and coating it with sanding sealer. With the cap still on the jam chuck I started shaping the outside of the actual cover, so I got quite the same diameter at the transition of body and cap.
As the tennon has the same diameter as the flashlight, I turned out the inside of the blank up to this line. I can’t drill on my lathe either :-(.
With the inside finished I finaly took the body out of the chucks, realising that I had been realy lucky, as I only got 3 mm left from the hollowed inside to the end of my blank!
I used a piece of beech inside my chucks and turned it down to act as a jam chuck for the body. The rest was easy: turning of the tennon, flattening the face and turning the hole for the light to come out. Finishing the piece wit 600 grit sandpaper, some sanding sealer and a final touch of beeswax.
To cover the different grain directions I slightly tapered both pieces down to the transition line. The bead could have been a little sharper to detract from the transition line, but for my first one, I think it turned out quite nice.
Thank you Carl for the inspirations.

Submitted by: Peter Freitag
